Testing the Limits of Strength and Durability.
Chemical composition tells you what a material is, but mechanical testing tells you what it can do. Mechanical testing provides quantitative evidence of how a material or component will behave under load, impact, or repeated use. From structural parts and fasteners to castings and weldments, mechanical properties directly affect reliability, safety, and customer confidence.
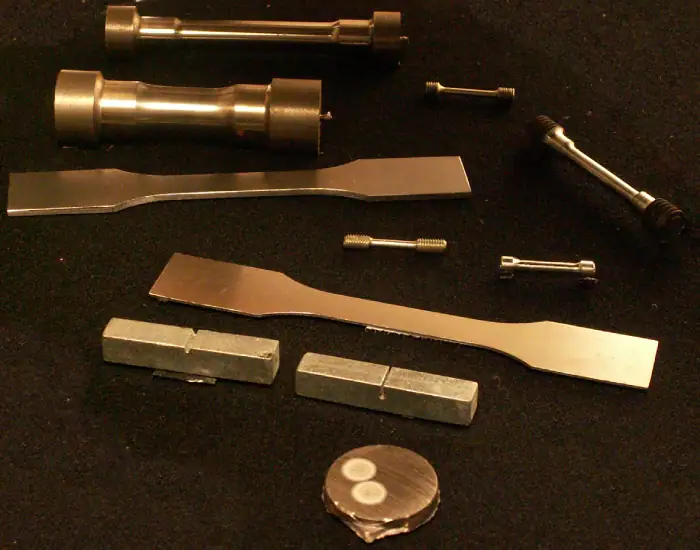
The APL Advantage: In-House Specimen Preparation Mechanical testing is only as accurate as the specimen. APL operates a fully equipped in-house machine shop. This allows us to prepare round, flat, and Charpy specimens immediately upon receipt, significantly reducing turnaround times while ensuring strict conformance to ASTM dimensional standards. Additionally, we support the machining of specialized specimens that may not be suitable for traditional machining methods or meet the requirements for standard specimen sizes.
Why Mechanical Testing Matters
- Confirms materials meet minimum strength and hardness requirements before service
- Validates heat treat results and manufacturing consistency
- Supports supplier qualification and ongoing QC programs
- Provides critical input for failure analysis and corrective actions
- Helps reduce risk in safety-critical or high-liability applications
APL performs accredited mechanical testing to evaluate strength, ductility, toughness, hardness, and performance against industry and customer requirements. Our technicians use computer-controlled systems and consistent procedures to produce repeatable results you can trust.
Mechanical Testing Services
Tensile Testing Determine yield strength, ultimate tensile strength, elongation, and reduction of area for machined specimens, castings, weldments, and components to common standards (including ASTM A370 and ASTM E8/E8M).
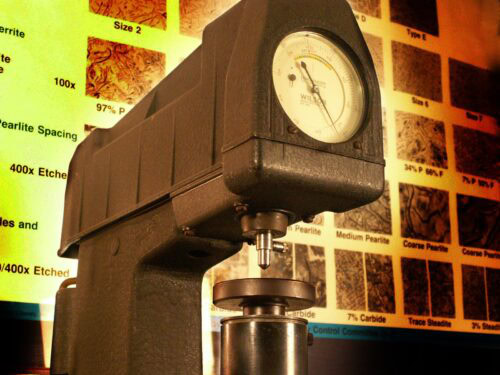
Hardness Testing One of the fastest ways to verify heat treatment and material consistency. We offer a full suite of methods including:
- Brinell: Utilizing optical scanning for extreme accuracy (500kg & 3000kg loads).
- Rockwell: All standard scales (B, C, etc.) and superficial scales (15N, 30N, etc.).
- Microhardness: Vickers and Knoop for thin materials, case depth verification, or surface hardening checks.
Impact Testing (Charpy) Evaluate toughness using Charpy V-notch, U-notch, or no-notch testing. We handle subsize and standard specimens, weld/HAZ evaluations, and testing across temperature ranges from room temperature down to Liquid Nitrogen levels (-320°F / -196°C).
Bend & Proof Load Testing Bend testing for welds, fasteners, and raw materials, plus tension/compression proof load testing for nuts, threaded fasteners, and components.
Fastener Testing (Tension & Proof) Axial and wedge testing to verify fastener performance and compliance requirements.
Weld Testing & Qualification Support APL supports weld operator and weld procedure qualifications with tests such as tensile, bend, impact, and macroetch to applicable codes (including AWS, ASME Section IX, and others as required).
Sample Requirements Some mechanical tests require specific specimen geometry, thickness, or machining. Contact us prior to submitting samples so we can confirm what’s needed and help avoid delays.


